How to run MIIS in Azure Web Sites
Running a documentation site publicly, on the Web, for free is really easy with Azure Web Sites.
Step by Step Instructions:
- Create your free Azure account if you don't have one.
- Go to the Azure Portal and create a new Web App.
Choose a name for your site that is descriptive and available, create a new resource group (choose the free tier) or select a existing one, and choose a location for the site:

Click the "Create" button. After a few seconds your site will be available.
3.- Deploy your contents to Azure.
You can deploy to Azure using a lot of different methods. I, for example, like to deploy my sites directly from their Git repository or from DropBox. But the easiest and more straight-forward way is through FTP.
Go to your Web App main page and press the "Get publish profile" button.
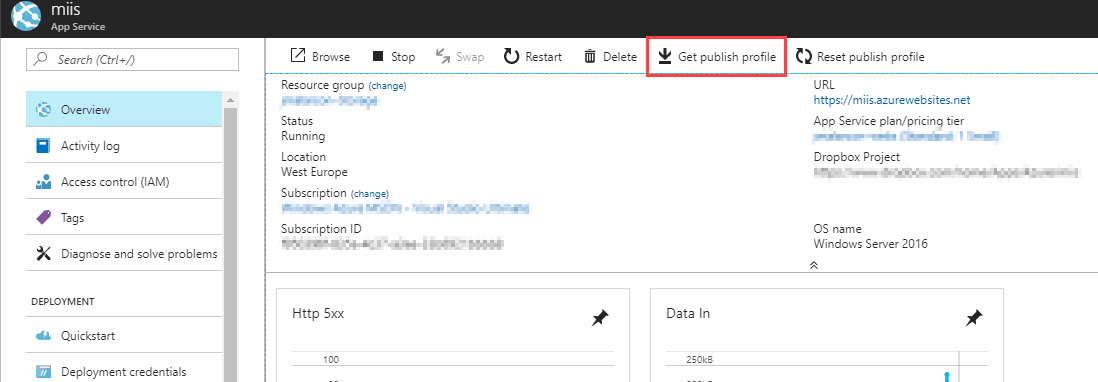
Inside the downloaded file you'll find the credentials to access your site through FTP.
IMPORTANT: Don't change or use the FTP credentials in the "Deployment credentials" section, since those are common for all the sites in your Azure account, and are dangerous to share.
4.- Transfer files to your Web App.
Go to the "Overview" section of your Web App to get its URL:
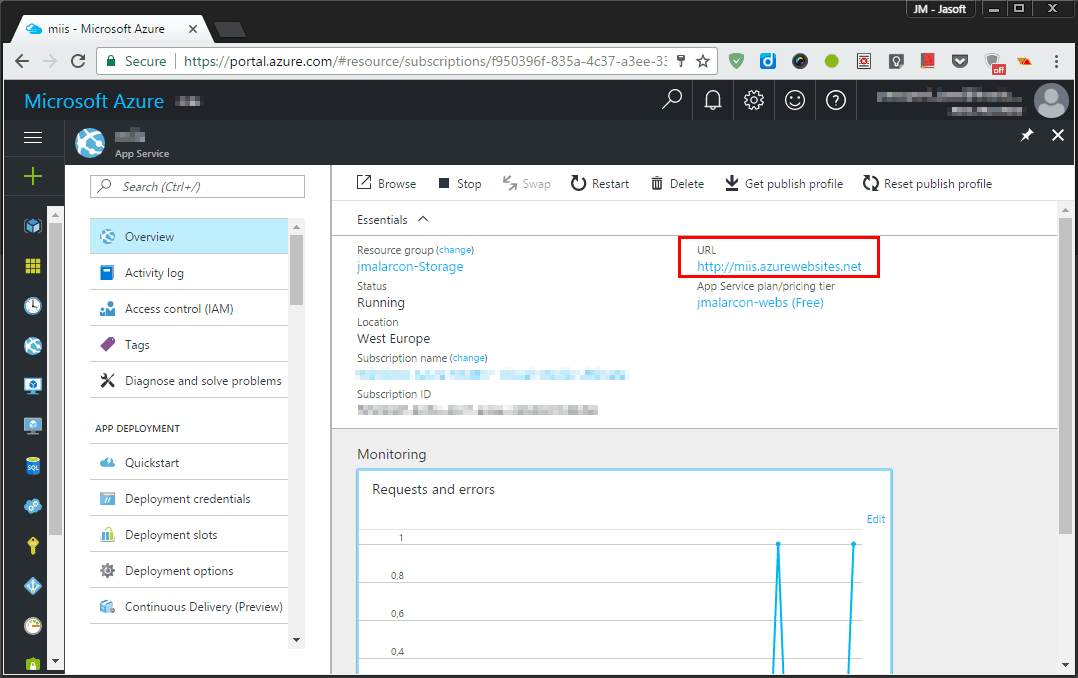
Now you can access the FTP site in the same URL with the ftp:// protocol, for example: ftp://mySuperSite.azurewebsites.net
You can use a decent graphic FTP client such as Filezilla to be more comfortable.
Make sure you upload not only your Markdown documents, but the MIIS sub-folders ("bin", "CSS", "templates") and web.config file.
Now, browse your site going to its public URL. Here you go!
It is possible to do a lot of advanced things in your site, such as make it private and only accessible with specific accounts (Active Directory, Office 365, Google..), deploy automatically from a Git repository, deploy manually from a cloud drive... Make sure to check Azure's documentation on that.